Step one: prep the opening
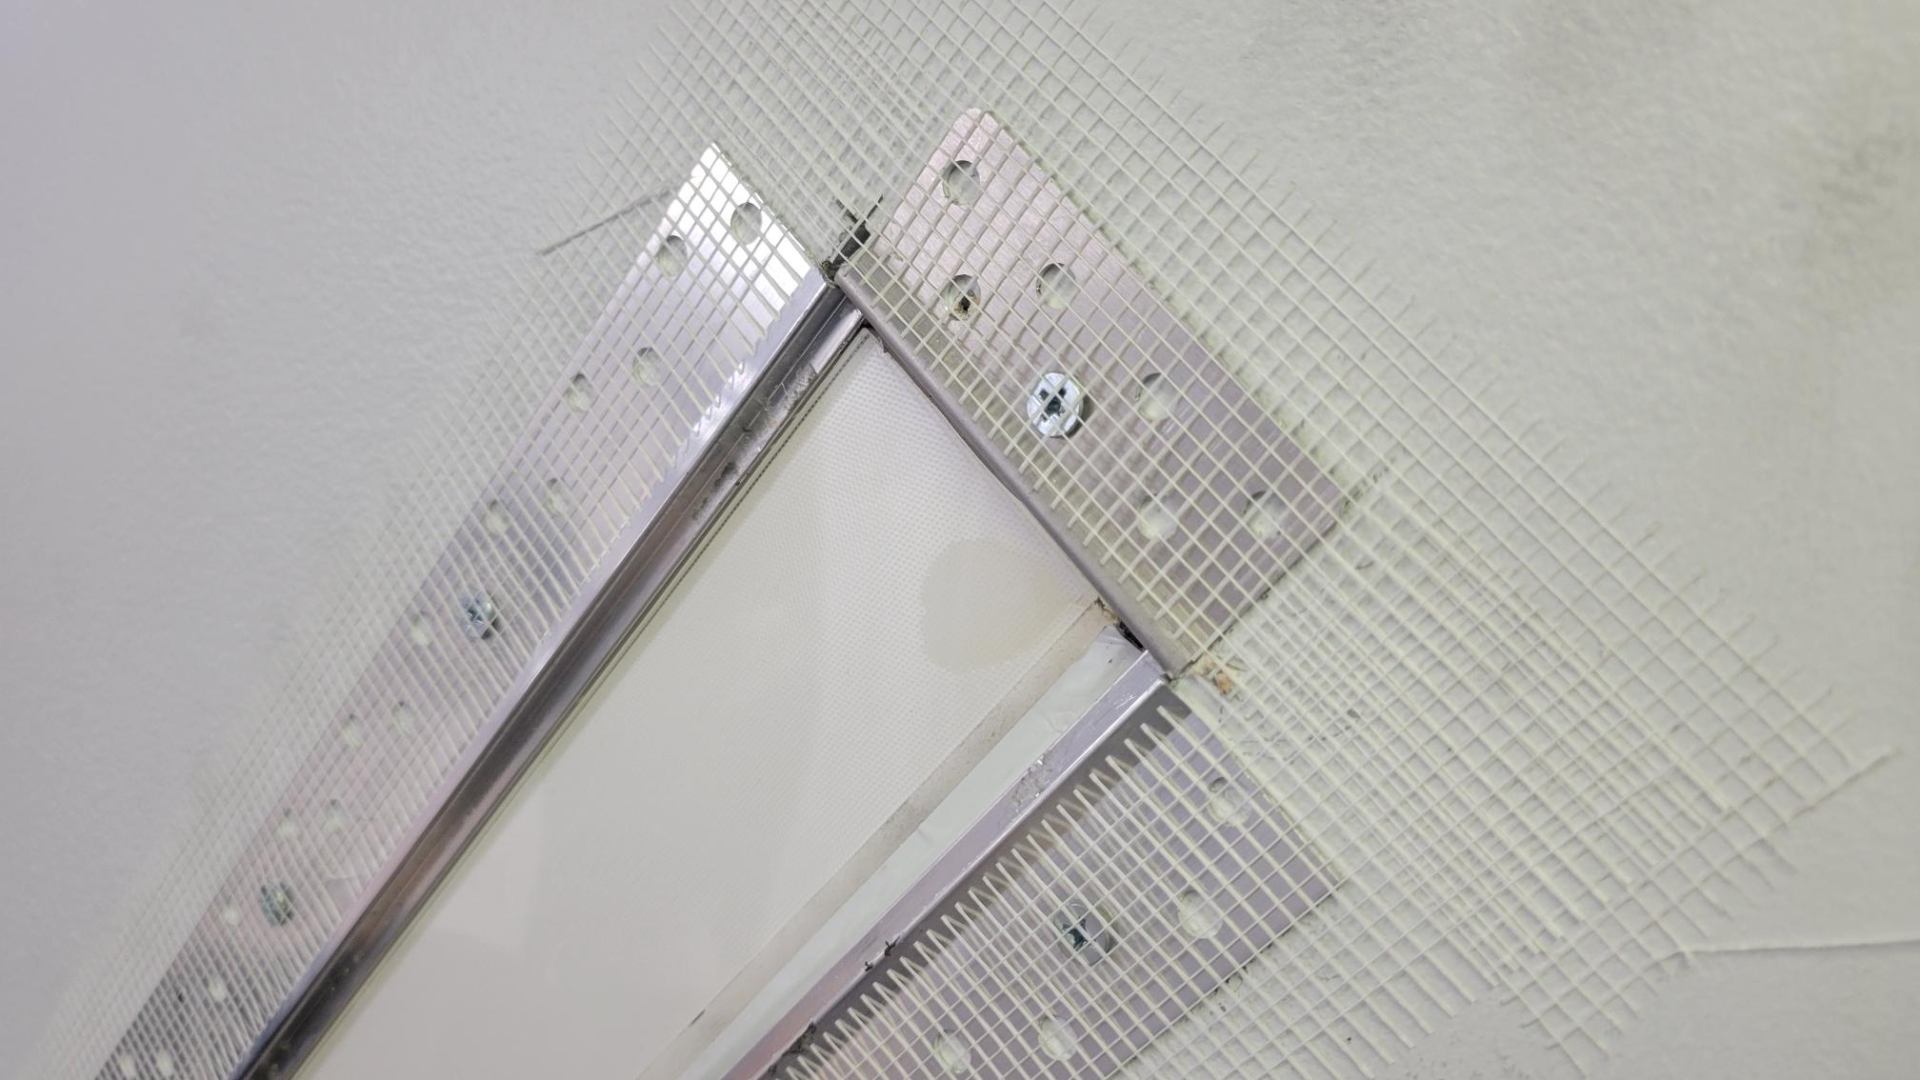
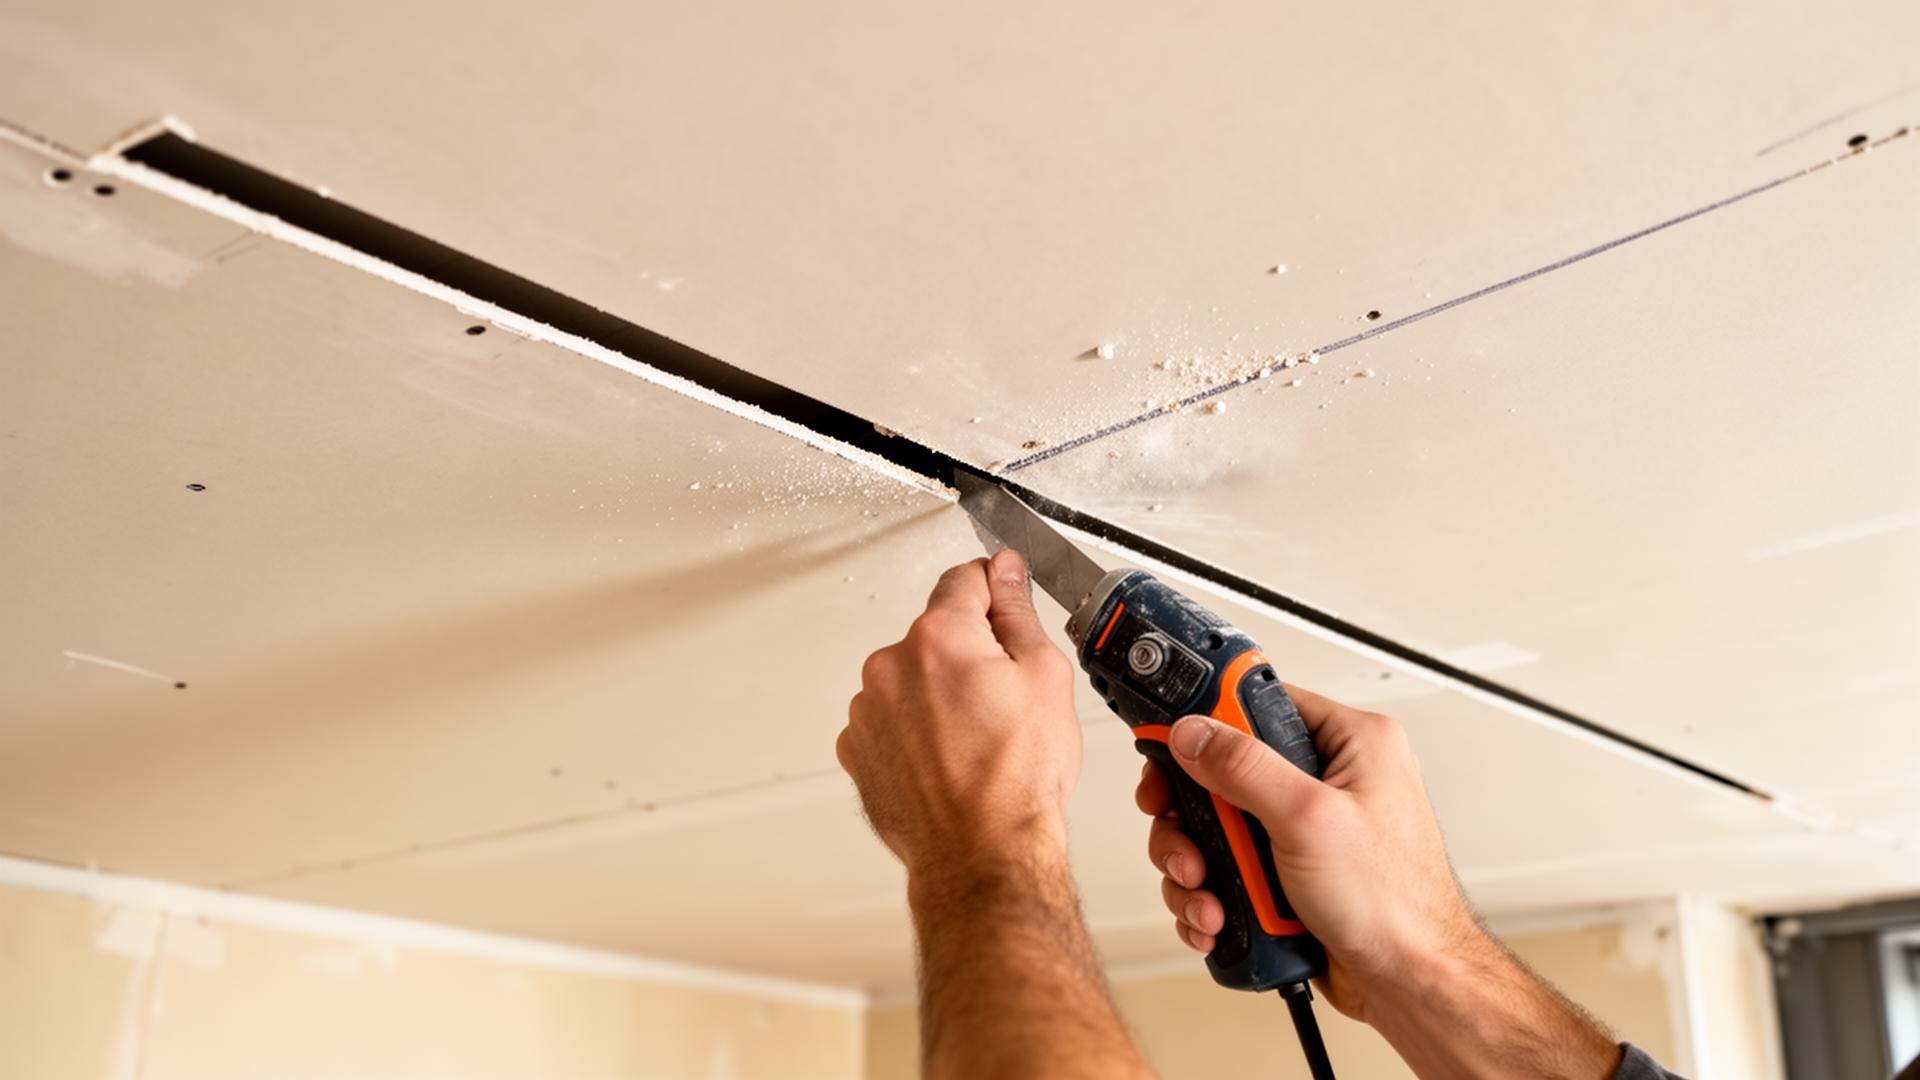
Mark the opening from the supplied template, then cut the drywall or substrate. Confirm the cavity is clear and that low-voltage wiring is roughed in to the location. This step takes most of the first hour.
Step two: connect and place
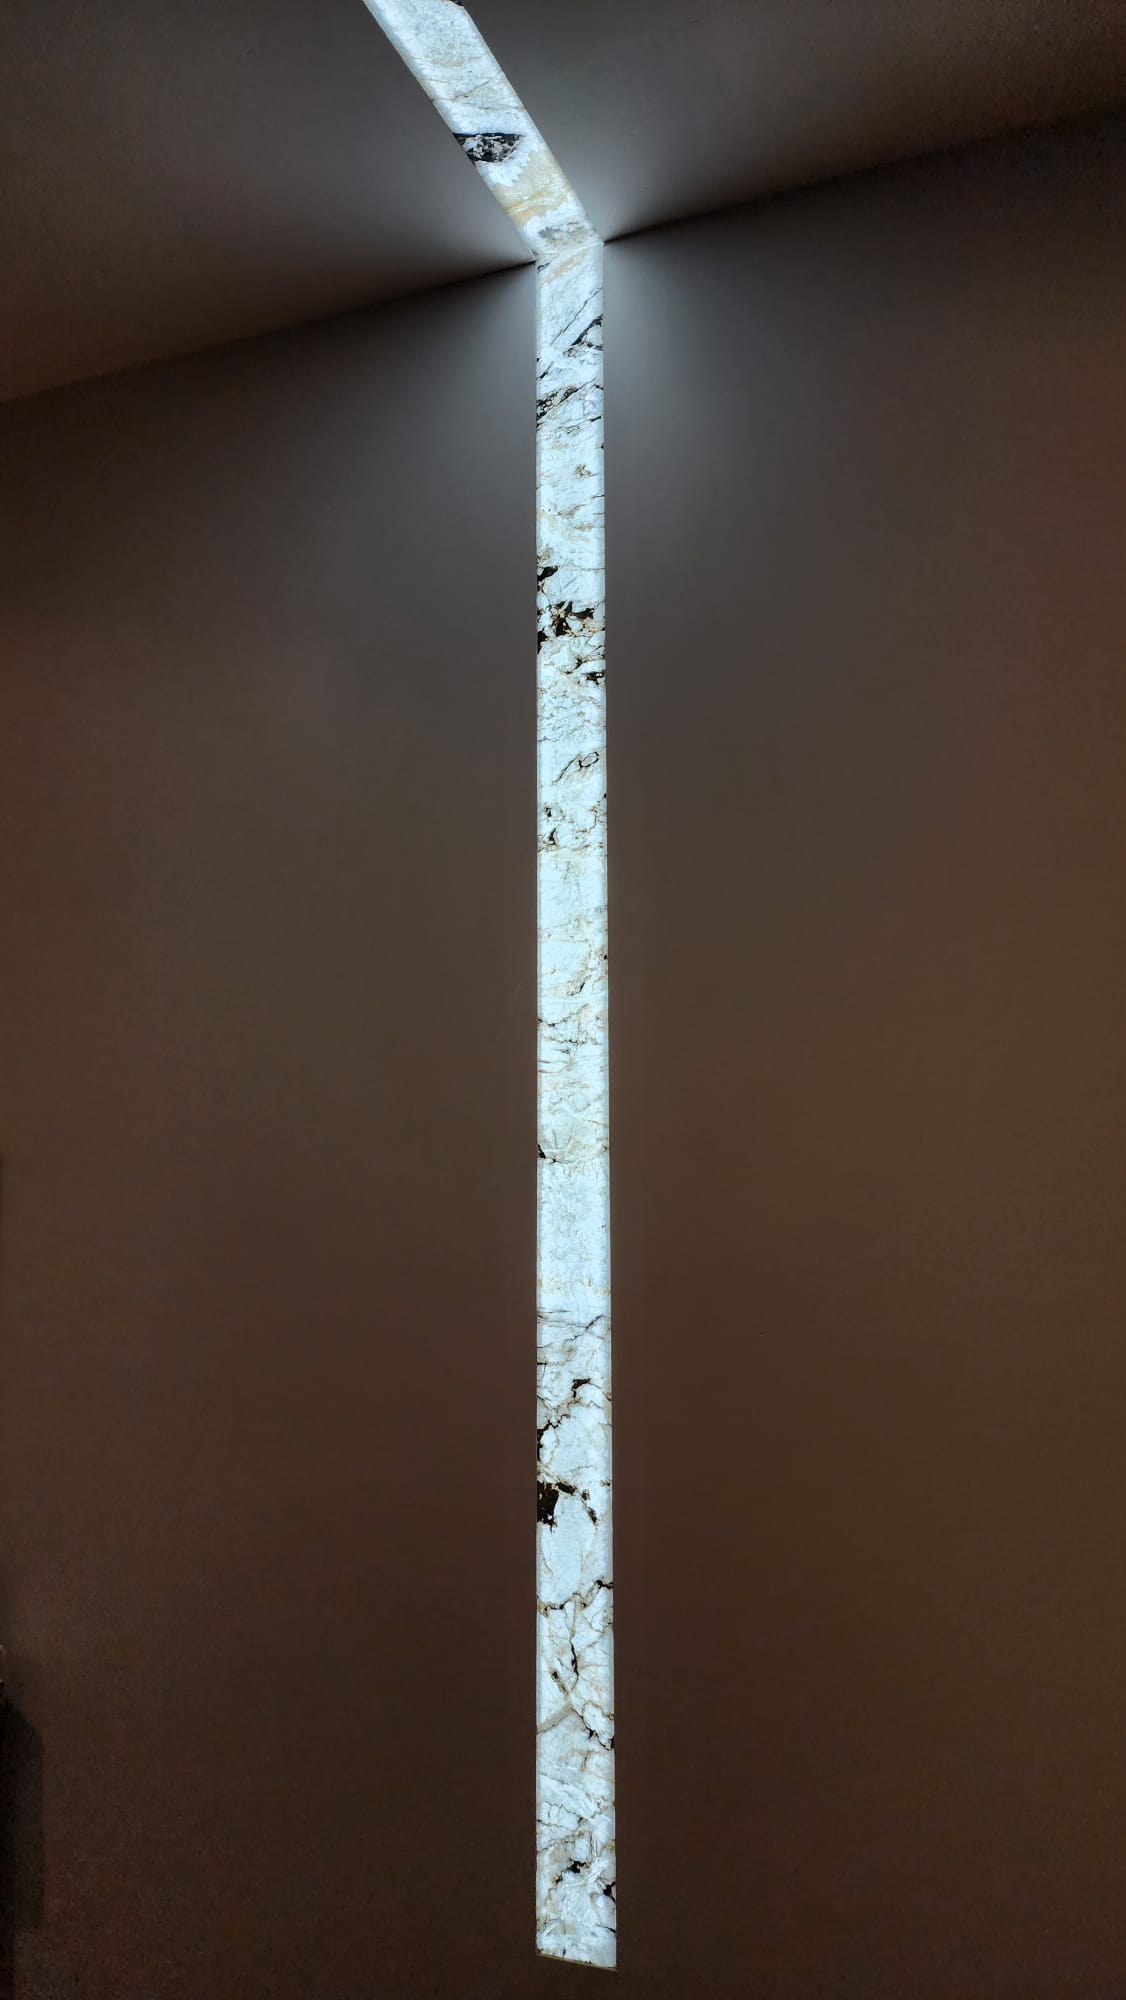
Connect the 12V leads to the supplied driver, then test that the panel lights before placement. Drop the panel into the opening on its recessed flange so it sits tight to the substrate. The flange finishes flush with the surrounding wall surface, so no trim or surround is required.
Step three: finish and verify
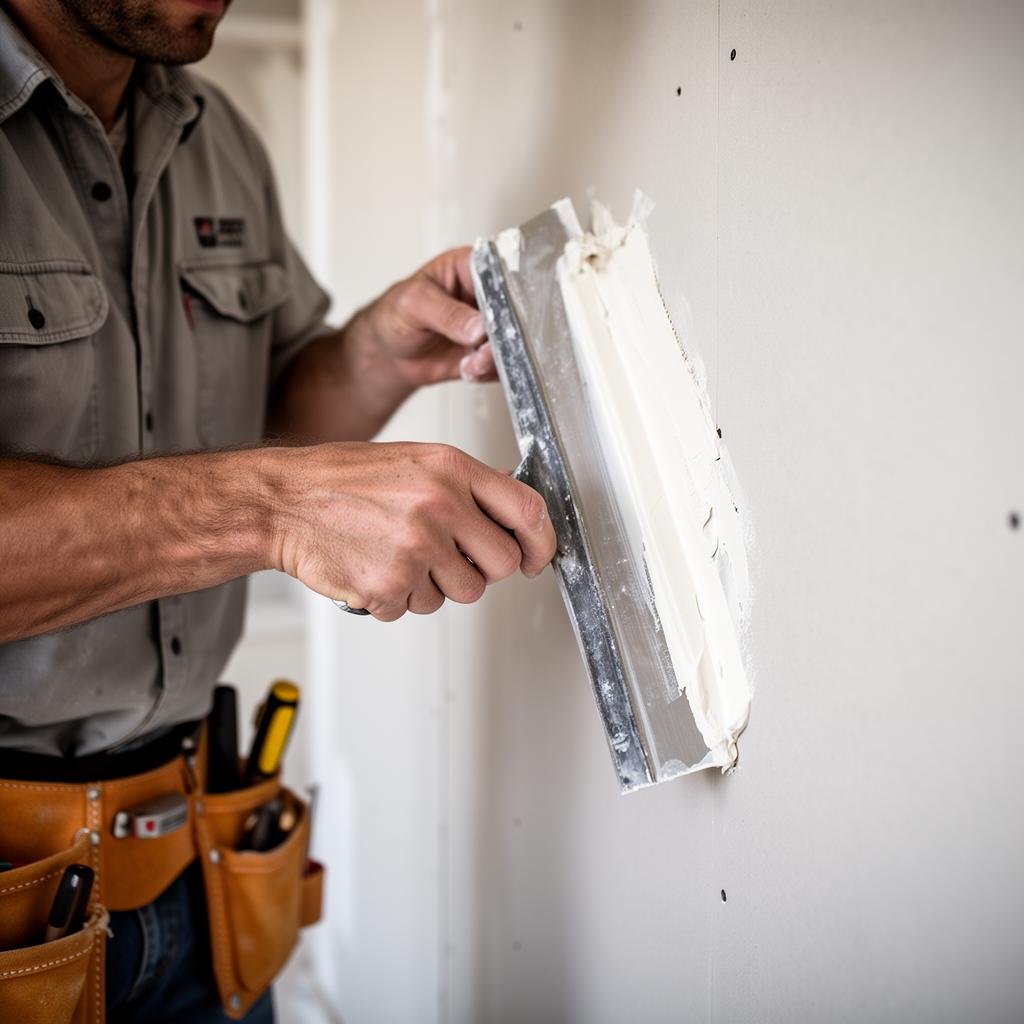
Apply the small bead of finish caulk along the flange, touch up paint if needed, and switch the circuit on. The panel should glow evenly with no hotspots. Total elapsed time for a single insert is approximately two hours.